


Why Every Homeowner Should Be Preparing Your HVAC for the Transition to Cooling
Preparing your HVAC for the transition to cooling is one of the smartest things you can do before summer arrives. A few simple steps in early spring can mean the difference between a system that runs smoothly all season and one that breaks down on the hottest day of the year.
Here’s a quick overview of the key steps:
- Replace or inspect your air filter (every 30-90 days)
- Clear debris from the outdoor condenser unit and maintain at least 2 feet of clearance
- Switch your thermostat to cooling mode and set a baseline of 78°F
- Inspect ductwork and seal air leaks around windows, doors, and the attic
- Test your AC system with a 15-20 minute run before peak heat arrives
- Schedule a professional tune-up to check refrigerant levels, coils, and electrical connections
Nearly half of all the energy used in your home goes toward heating and cooling. That means a neglected HVAC system doesn’t just risk a breakdown — it quietly drives up your energy bills every single month. Dirty filters, leaky ducts, and debris-clogged condenser units all force your system to work harder than it needs to.
Spring is the ideal time to act. Catching small issues now costs far less than emergency repairs in July.

Why Preparing Your HVAC for the Transition to Cooling is Essential
As we move from the damp, chilly winters of the Pacific Northwest into the brighter days of spring, our home comfort needs shift dramatically. We’ve spent months relying on our furnaces or the heating side of our Heat Pumps to keep the frost at bay in places like Lakewood and Pierce County. Now, it’s time to flip the script.
The primary reason to focus on The Importance of Regular HVAC Maintenance during this window is system longevity. Think of your HVAC system like a car; you wouldn’t head out on a cross-country road trip in the heat of summer without checking the oil and coolant first. Forcing a system that has been dormant or running in “heat mode” all winter to suddenly blast cold air without a check-up leads to unnecessary wear and tear.
Furthermore, preventative care directly impacts your utility bills. When your system is clean and calibrated, it moves air more efficiently. If the evaporator coils are coated in dust or the condenser is choked with last autumn’s leaves, the system has to run longer cycles to reach your desired temperature. This doesn’t just cost more; it lowers your indoor air quality by recirculating the dust and allergens that have settled in the system over the winter.
Step 1: Preparing Your HVAC for the Transition to Cooling with Filter Maintenance
The simplest DIY task is also the most impactful: changing your air filter. During the transition to cooling, your system needs maximum airflow to prevent the indoor evaporator coil from freezing over. A clogged filter acts like a wall, forcing the blower motor to work overtime.
We recommend checking your filter every 30 days and replacing it at least every 90 days. However, for our neighbors in King and Thurston Counties who suffer from heavy seasonal pollen or have shedding pets, a 60-day cycle is often better. When selecting a filter, look at the MERV (Minimum Efficiency Reporting Value) rating. A MERV 8 to 11 is usually the “sweet spot” for residential homes, providing excellent allergen reduction without over-restricting airflow. If you’re unsure which size or rating fits your specific unit, our AC Maintenance Services can help identify the perfect match for your equipment.
Optimizing Your Thermostat for Summer Efficiency
Your thermostat is the brain of your home’s comfort system. When preparing your hvac for the transition to cooling, the first move is to manually switch the setting from “Heat” to “Cool.” It sounds obvious, but many “no-cool” service calls in the spring are solved simply by correcting the mode!
For the best balance of comfort and savings, we suggest a baseline of 78°F when you are home. According to energy statistics, raising your thermostat by just 7 to 10 degrees when you are away for eight hours a day can save you roughly 10% on your annual cooling costs.
This is where smart thermostats shine. By Maximizing Energy Efficiency in Your Washington Home, these devices learn your schedule and automatically adjust the temperature, ensuring you aren’t cooling an empty house in Kitsap County while you’re at work. Many ENERGY STAR certified smart thermostats can save homeowners approximately $100 a year, making them a wise investment for the cooling season.
Essential Outdoor and Exterior Maintenance Steps
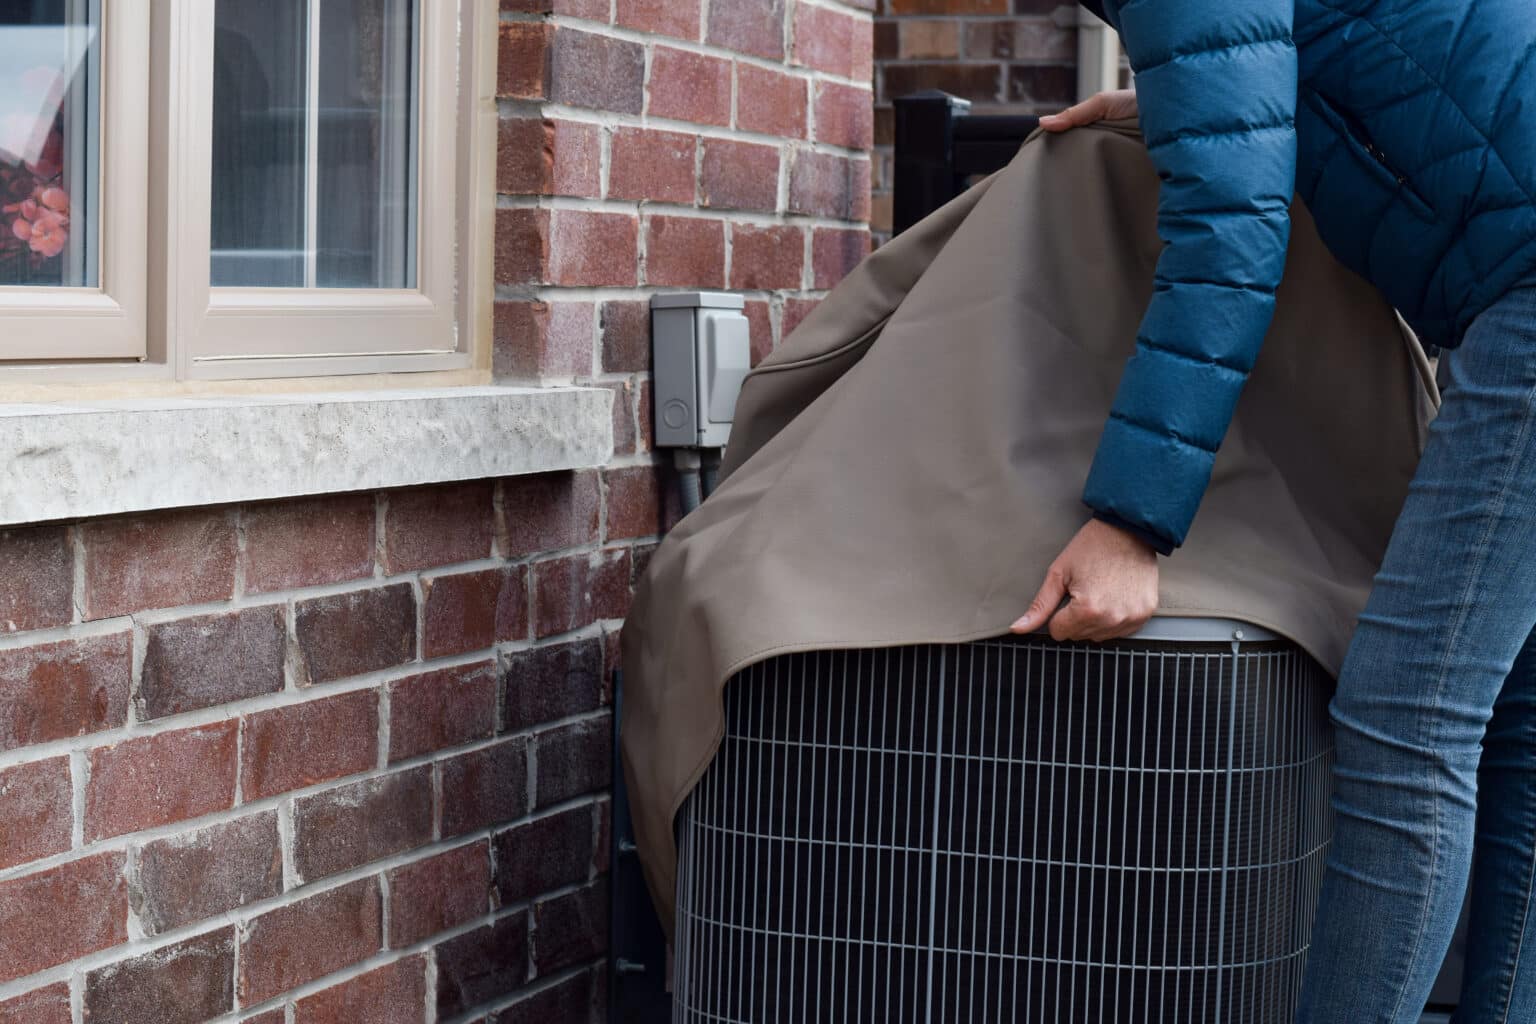
While much of the magic happens inside, the heavy lifting of heat displacement occurs outdoors. Your outdoor condenser unit has likely sat through a few windstorms and heavy rains over the last few months. Before you demand high-performance cooling, that unit needs some breathing room.
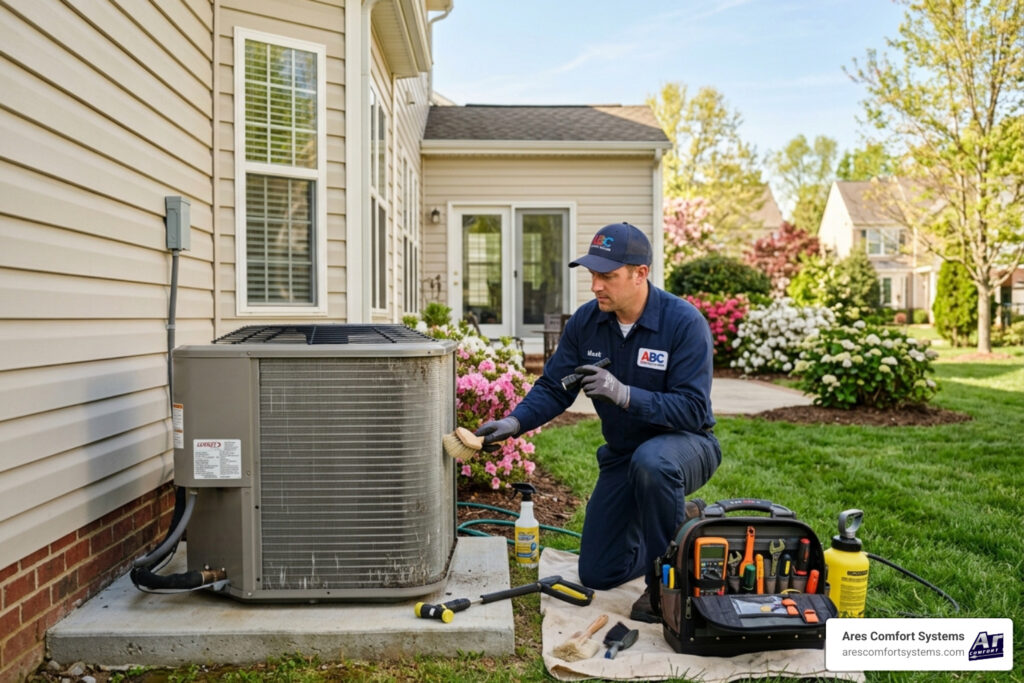
Cleaning the Condenser and Inspecting Refrigerant Lines
The condenser unit works by pulling air through its metal fins to dissipate heat. If those fins are blocked, the heat stays trapped, and your house stays warm.
- Clear the Perimeter: Ensure there is at least a 2-foot “no-fly zone” around the unit. Trim back any shrubs, tall grass, or overhanging branches that grew during the wet Washington spring.
- Debris Removal: Gently sweep away leaves, twigs, or “cottonwood fluff” from the exterior of the unit. You can use a garden hose on a low-pressure setting to rinse the coils, but avoid using a pressure washer, as it can easily bend the delicate aluminum fins.
- Inspect the Lines: Look at the large copper pipe leading into your home. It should be covered in thick foam insulation. If the insulation is dry-rotted or missing, your system will lose cooling capacity before the air even reaches your vents.
If you notice bent fins or damaged lines, it’s best to seek AC Repairs rather than attempting to straighten them with a screwdriver, which can cause leaks. For those with specialized setups, check out our Expert Tips for Maintaining Your Puyallup Split System AC.
Sealing Air Leaks and Inspecting Ductwork
You can have the most efficient air conditioner in the world, but if your home is “leaky,” you’re essentially paying to cool the neighborhood. Leaky ducts can lose up to 30% of the conditioned air before it ever reaches your living room.
Take a walk around your home and check the weatherstripping on doors and the caulking around window frames. If you can feel a draft, your cool air is escaping. Additionally, if you have a traditional ducted system, a quick visual inspection of the accessible ducts in your attic or crawlspace is vital. Look for disconnected sections or holes. Sealing and insulating these ducts can improve your system’s efficiency by 20% or more. For homes without traditional ducts, Ductless ACs offer a highly efficient alternative that bypasses these common air-loss issues.
Testing and Troubleshooting Your System Startup
Don’t wait for the first 90-degree day in July to find out your AC is struggling. A “test run” in late April or May is the best way to ensure peace of mind.
| Sound/Observation | Status | Meaning |
|---|---|---|
| Gentle hum from outdoor unit | Normal | The compressor and fan are engaged correctly. |
| Constant clicking or buzzing | Warning | Potential electrical issue or failing capacitor. |
| Hissing or bubbling | Warning | Likely a refrigerant leak; needs immediate attention. |
| Grinding or metal-on-metal | Warning | Blower motor or fan blade obstruction. |
| Musty or “dirty sock” smell | Warning | Mold or bacteria on the evaporator coil or in the drain line. |
Preparing Your HVAC for the Transition to Cooling: The System Test Run
To perform a proper test, set your thermostat to “Cool” and lower the temperature about 3 to 5 degrees below the current room temperature. Let the system run for at least 15 to 20 minutes. During this time, check the following:
- Air Temperature: Within a few minutes, the air coming out of the registers should feel significantly cooler than the room air.
- Thermostat Calibration: Ensure the system turns off once it reaches the set temperature.
- Drainage: Check the condensate drain line (usually a white PVC pipe near the indoor unit). You should see water dripping outside, which indicates the system is successfully removing humidity from your home.
If you notice any of the warning signs listed in the table above, it’s time for a professional HVAC Inspection to prevent further damage. Our comprehensive Air Conditioning Services are designed to catch these nuances before they become expensive failures.
Special Considerations for Heat Pump Owners
If you have a heat pump, the transition is slightly different. Unlike a furnace/AC combo, a heat pump uses a “reversing valve” to switch the flow of refrigerant. Sometimes, after a long winter of heating, this valve can get stuck.
If you switch your heat pump to “Cool” and it continues to blow warm air, the reversing valve or the thermostat wiring may be at fault. Also, ensure the outdoor unit is clear of any leftover winter debris, as Heat Pumps rely heavily on outdoor airflow in both seasons.
When to Call a Professional Before the Heat Hits
While DIY steps are a great start, there are certain things only a certified technician should handle. For example, checking refrigerant levels requires specialized gauges and licensing. If your refrigerant is low, it means you have a leak—refrigerant isn’t “used up” like gasoline. A professional will find the leak, fix it, and recharge the system to factory specs.
Signs Your System Needs Professional Attention
If you encounter any of the following during your spring prep, don’t ignore them:
- Weak Airflow: This could indicate a failing blower motor or significant duct blockages.
- Short Cycling: If the AC turns on and off every few minutes, it’s likely overheating or has an electrical fault.
- Musty Odors: This often points to a clogged condensate drain or biological growth on the coils.
- Unusual Noises: Rattling, screeching, or thumping are cries for help from your system’s mechanical parts.
Addressing these early is the core of Why Puyallup Homeowners Need Regular AC System Maintenance.
The Best Time to Schedule Your Spring Tune-Up
The best time to call us is now—early spring. By scheduling your maintenance before the “summer rush,” you get the benefit of flexible scheduling and the assurance that your system is ready before the heat arrives. Our Lakewood AC Tune-Up: Why Your System Needs a Seasonal Checkup guide explains how a professional visit can catch issues like loose electrical connections, which are a common fire hazard and a major cause of system failure.
Frequently Asked Questions About Seasonal Transitions
Should I shut down my furnace completely during the cooling season?
For most modern systems, you don’t need to do much more than switch the thermostat to “Cool.” However, if you have an older gas furnace with a standing pilot light, you might consider turning off the gas supply to save a small amount of energy and prevent heat buildup in the cabinet. Just remember that you’ll need to relight it come autumn! For most homeowners, simply turning the power switch to “off” on the furnace itself is unnecessary and can actually disable the blower motor that your AC needs to move air.
How can I reduce my cooling costs while maintaining comfort?
Beyond preparing your hvac for the transition to cooling, you can use “passive” cooling strategies. Use ceiling fans (rotating counter-clockwise in summer) to create a wind-chill effect. Close your blinds or curtains on the sunny side of the house during the day to block solar heat gain. These Seasonal AC Maintenance Tips for Puyallup’s Changing Weather can significantly lower the load on your AC.
What role does ductwork play in cooling efficiency?
Ductwork is the “veins and arteries” of your home. If they are crushed, leaking, or uninsulated in a hot attic, your AC has to work twice as hard. Sealing ducts with mastic sealant or metal-backed tape (not standard “duct tape”) can provide a 30% efficiency gain in some homes.
Conclusion
At Ares Comfort Systems, we understand that your home is your sanctuary. Preparing your HVAC for the transition to cooling shouldn’t be a stressful chore. By following these steps, you’re investing in your family’s comfort and your home’s value.
Whether you need a quick filter check or a comprehensive HVAC Maintenance visit, our team is here to help. We proudly serve Lakewood, Pierce County, and the surrounding Washington areas with our “Fixed Right Promise” and a 100% satisfaction guarantee. With decades of experience and our Comfort Service Agreements, we make staying cool easy and affordable.
Don’t let the summer heat catch you off guard. Contact us today to ensure your system is ready for the sunny days ahead! (WA LIC # ARESCCS766CA)